Saturday, January 3, 2015

Graphic Design and Screen Printing


Topic: Graphic Design
ProjectScreen Printing
Academic Area/Skills:  Math, Technology, Art
Materials: Geometric Blocks, Ruler, Pencil, Permanent Markers, Silk Screen Fabric, Picture Frames, Fabric Inks, Paint Brushes, Mod Podge, T-Shirts
Grade: 3+
Students in third grade were learning about graphic design. The unit began with students creating their own personal logo. Students sketched their idea by hand then used an art app on the iPads to digitally design their logos. 
The following session, students began the process of creating a geometric pattern to screen print on a shirt. This project took about 4 weeks to complete. Check out this video on the whole screen printing process. 
<iframe width="560" height="315" src="//www.youtube.com/embed/HyM4erwpelk" frameborder="0" allowfullscreen></iframe>
Week 1: Students explored with the geometric blocks. Once they found a pattern they liked, they traced the blocks. They learned about negative and positive space.

Week 2: Students used a straight edge to clean up their designs. Students colored over the pattern with a black permanent marker. 

Week 3: Students began using Mod Podge to paint their designs onto the silk screen fabric. The screens were made by stapling the silk screen fabric to old wooden picture frames (with the glass removed). You can also purchase the whole frame and screen together from an art store. 

Week 4: Students brought in shirts from home and inked the colors of their liking to their shirts! They were so proud of their creations! 

Urban Planning and Development


Topic: Urban Planning and Development
Project3D Geometricity 
Academic Area/Skills:  Math, Art, Social Studies, Engineering
Materials: Pre-printed nets on cardstock, scissors, glue or tape, colored pencils
Grades: 2nd and Above
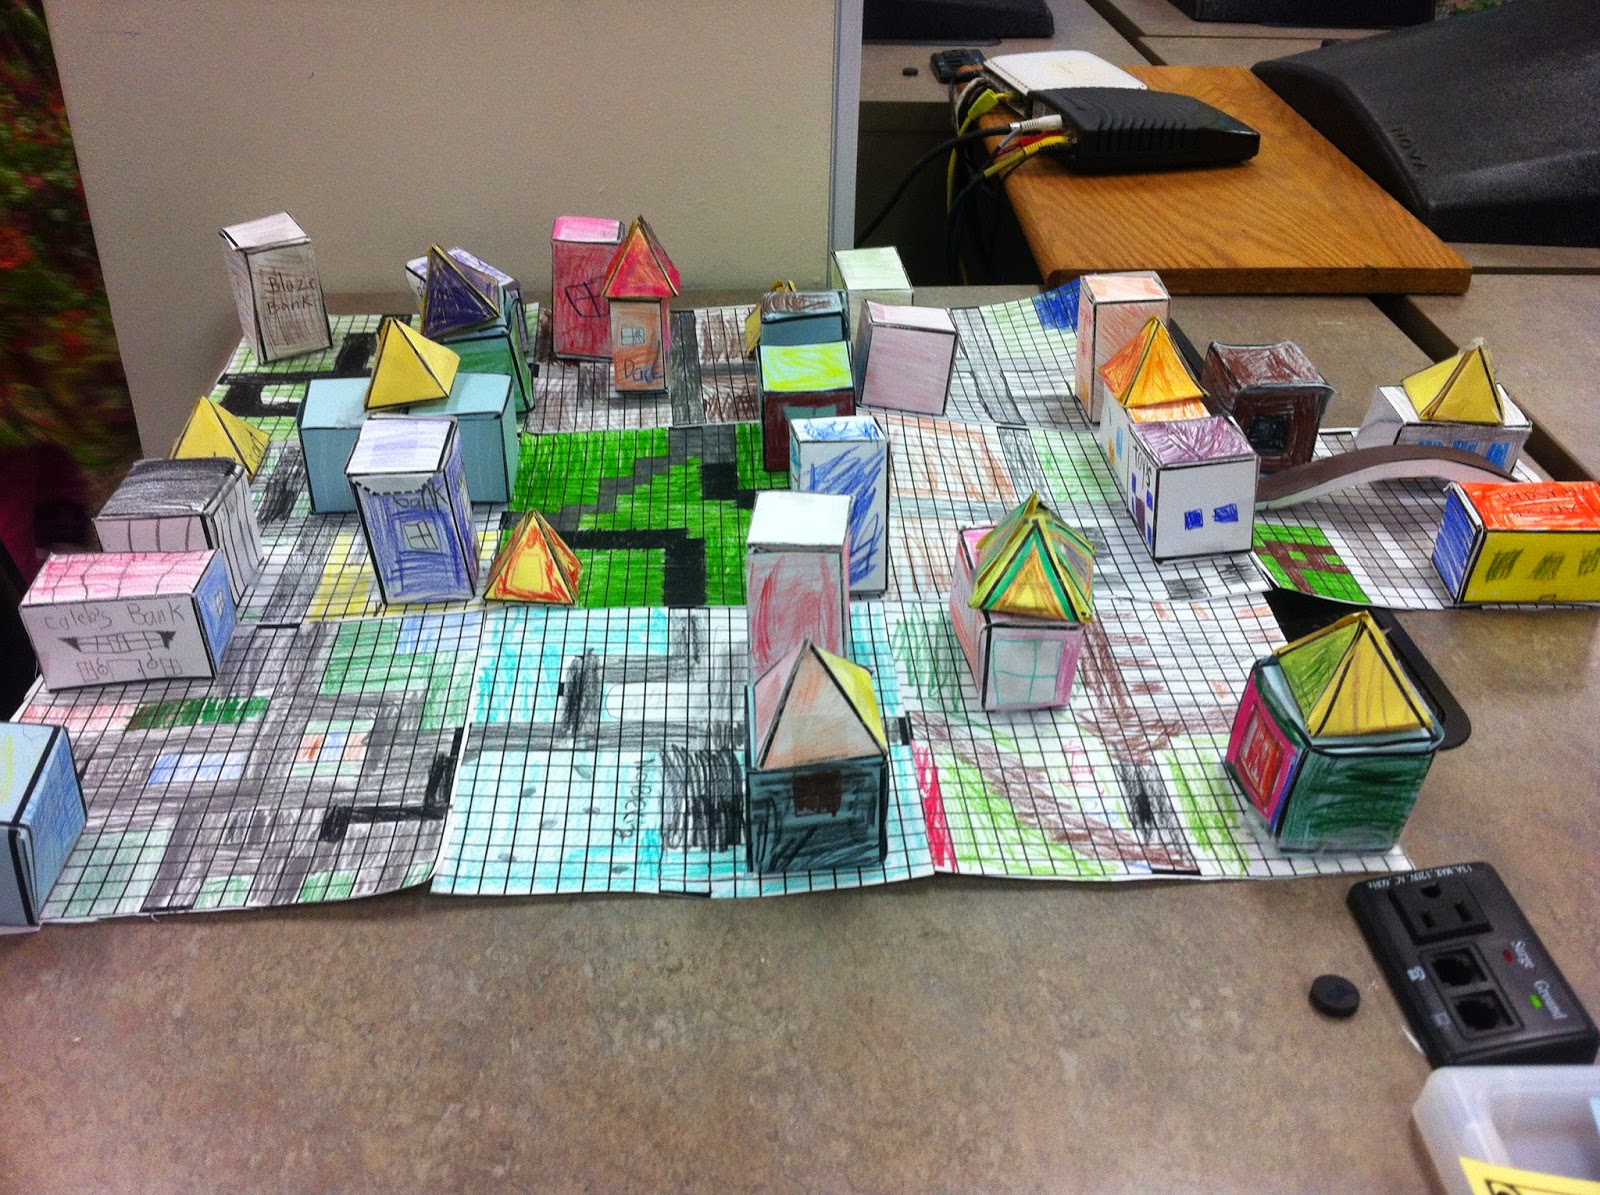
Second grade students were studying communities in their social studies curriculum so I decided to incorporate this into their STEAM class. I found a great curriculum online and adapted it to fit the needs of the second grade students. The curriculum, Geometrocity can be found here on Teachers Pay Teachers. Students used the nets to create 3D buildings they placed on a grid. Each student was given a different part of the city- such as entertainment districts, suburban areas, industrial district, and tourist destinations. This was a lengthy project, as students had to coordinate with each other, plan their city, then design and build it. Overall, this took about a month but the results were pretty amazing!

Elf Helpers


Topic: Creating Prototypes, General Engineering Process
Project: Elf Helpers
Academic Area/Skills: Art, Engineering
Grades: K-1
Materials: Crayons or markers, drawing paper, Legos or other building materials, Optional- Elf on the Shelf
Primary students found a runaway elf that needed engineers to help him. Students were given the challenge of designing and creating a prototype of a product that would help the elf move around the ice and snow. Solutions ranged from zambonis, to sleds, to flying snowshoes. Students began the process by brainstorming their ideas. Next, they drew out their designs on paper. Lastly, they build prototypes of their idea using Legos. Students had so much fun on this project!


Bridge Design


Topic: Bridge Design
Project: Bridge Construction and Testing
Academic Area/Skills:  Structural Engineering, Use of a triangle as a strong building foundation, Use of Playground App on iPad
Materials: iPad app- Playground, Video on Bridge Types (BrainPop! has a great one), Toothpicks and Marshmallows, Toy Cars
We began this unit by watching a BrainPop Video all about bridge designs. We learned the basic types of bridges- Arch, Suspension, Beam, and Truss and how forces act upon bridges. We observed different shapes found in bridge designs. Next, we used the app Playground to design various bridges. We experimented with different materials and shapes to see which would be the strongest.
The following class, we used toothpicks and marshmallows to build our own truss bridges that could support a toy car going over a pretend river! Students were reminded of how the triangle shape was the strongest when building and we practiced building a triangle out of toothpicks and marshmallows. We learned that the toothpicks represented the sides of a shape and the marshmallows represented vertices.
Students did better than I could have expected! Every partner group was able to build a bridge strong enough to support a car! Not only did they build a strong bridge but I was very impressed by their designs.
 IMG_3217IMG_3226

Straw Rockets


Topic: Air Takes up Space, Air Can Move Objects, Air Pressure
Project: Straw Rockets!
Academic Area/Skills: Science, Art
Grades: K-1
Materials: Paper pre-cut into 7″x1.5″ rectangles, thin markers, clear tape, straws
We began our lesson by filling out our Know/Want to Know Chart. I choose not to include Learned because I knew that for our 30 minute lesson, we wouldn’t have time at the end to return to our chart. However, if you have a longer session, this would be beneficial. Students discussed what they knew about air. Answers varied from “Air is invisible” to “Air helps things float.” We then took a minute to ask a few questions about air. Next, I asked the class two of my own questions; “Does air take up space?” and “Can air move objects?”
To demonstrate how air takes up space, we all took in a deep breath and blew out the air. Many students said no, air doesn’t take up space. Next, I took a balloon and filed it with air. I asked again, and students visually could now see, that yes, air does take up space. We next talked about how air can move objects. I demonstrated the straw rockets with students, and explained why and how the air pressure shoots the paper off the straw.
Students grabbed paper and began decorating their rockets. Next, they added tape to a long edge of the paper and rolled the paper around a pencil to make it a cylinder. They taped the tube tight on the long end and one short end and slipped the pencil out from the cylinder. From here, the paper tube fit over a straw just right. We then took our rockets outside for some launching!

IMG_3004IMG_3006IMG_3007IMG_3008

Global Day of Play


Topic: Introduction to Design, Innovation, Engineering
Project: Caine’s Arcade/Global Day of Play
Academic Area/Skills: Introduction to course, imagination, basic design and engineering process
Materials: YouTube video of Caine’s Arcade, a box for every 1-2 students (varying sizes, but kids seem to like the bigger boxes), duct tape, scissors, markers, paint, balls, toilet paper tubes, popsicle sticks, yarn/string, other crafting materials as you see fit
Grades: 2-5
After watching Caine’s Arcade and learning about the Global Day of Play, I was inspired to celebrate with my students!

Step 1: Collect as many cardboard boxes as possible! An overflowing, heaping, insane amount of boxes! Luckily- most families saw this as a perfect opportunity to get rid of their recycling!
photo (6)

Step 2: Watch Caine’s Arcade Video as a class, partner-share  thoughts after viewing, and  break out the design journals! Students were put in small groups (2-3) and spent about 30 minutes sketching their cardboard arcade game designs and writing up their materials needed lists.
photo 2photo 1  


Step 3: Work Day 1- Build basic infrastructure/framework. 
photo 2 (1)
photo 1 (1)
Step 4: Work Day 2- Work on the details of your game
IMG_3020
Step 4: Work Day 3- Paint structure, add color/art, finish any details.
IMG_3016
Since the Global Day of Play, falls on a Saturday, we will be celebrating it a day early on October, 10th. We will place all of our cardboard arcade games in the gym and invite middle school students, kindergarten, and first grade students to come play!
IMG_3077
IMG_3066IMG_3083

It's Not a Box!


Topic: Introduction to Design, Innovation, Engineering
Project: It’s Not a Box!
Academic Area/Skills: Introduction to course, imagination
Materials: The book, Not a Box by Antoinette Portis, a cardboard box for each student, permanent markers, tape, scissors, construction paper
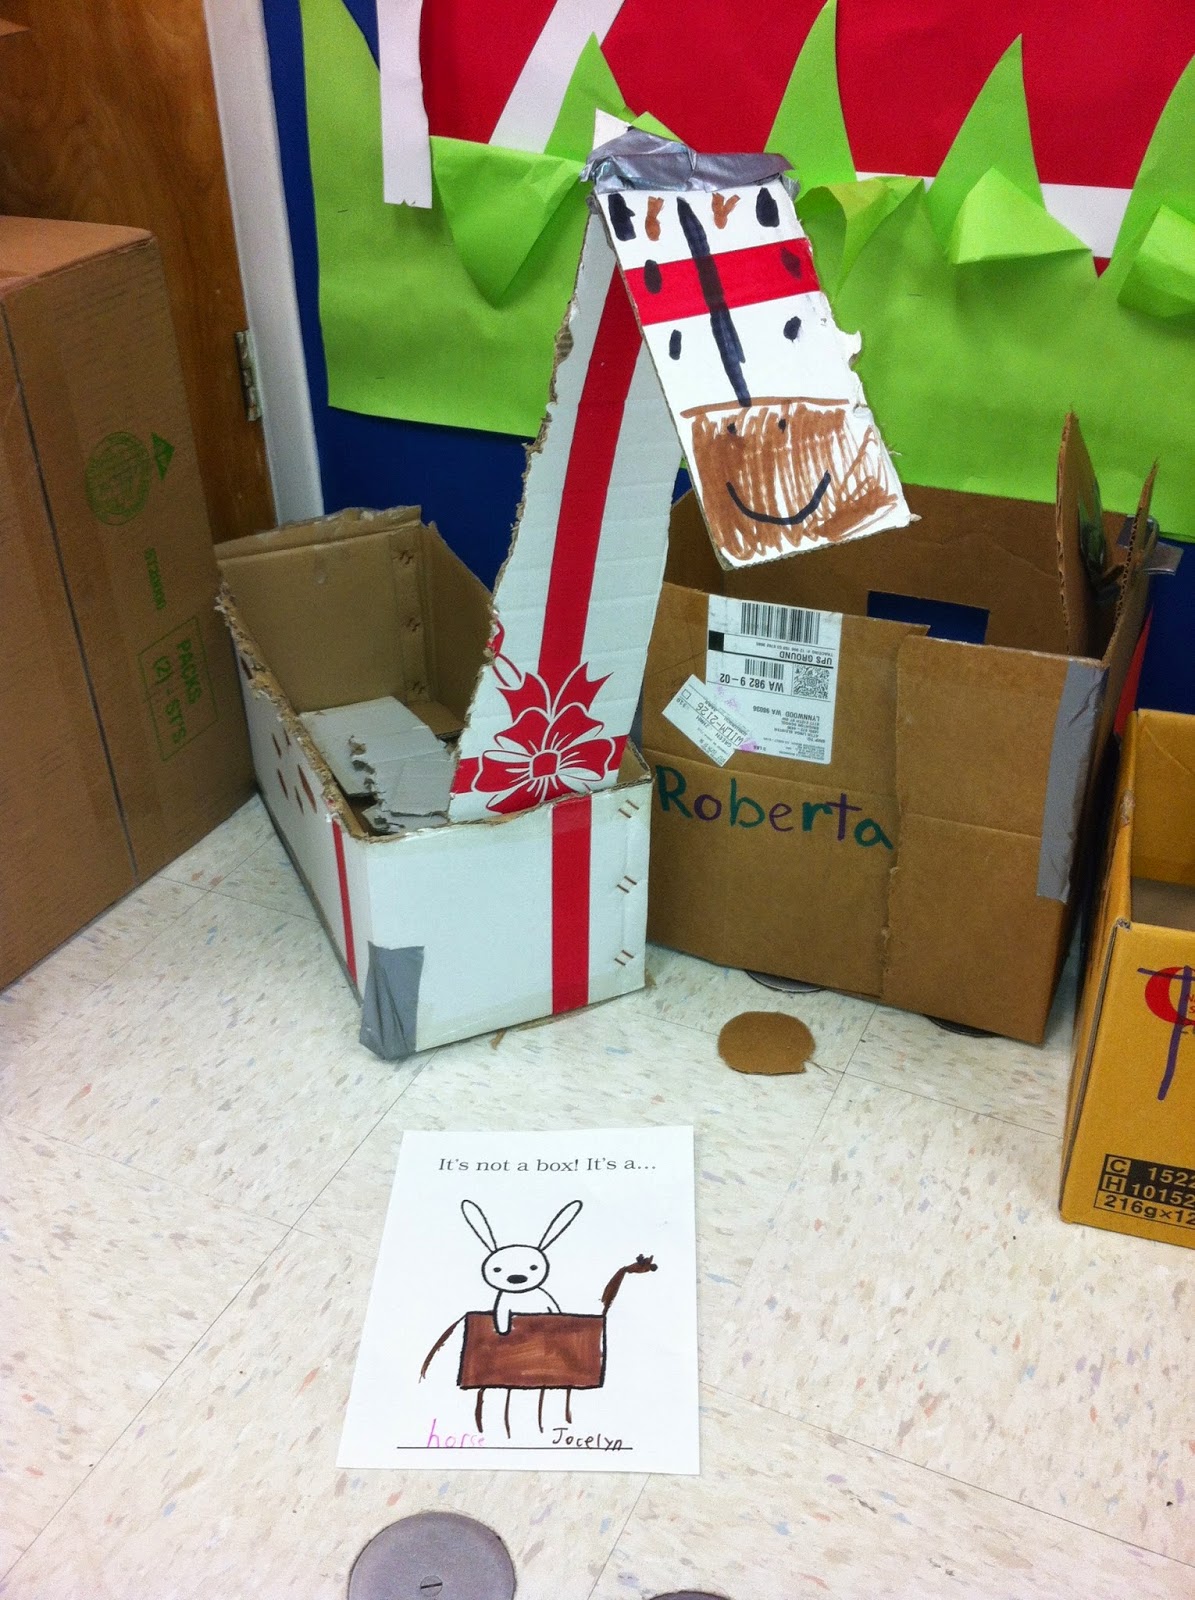
I used this lesson for grades K-1 as an introduction to the design process and to just get their imaginations flowing! We began by reading the book, Not a Box, which can also be found here on Youtube.
After reading the book, we decided to make our own “not a boxes” as we called them! Students were challenged to turn their box into something unique. Students loved this project and needed very little teacher direction/instruction. They just went to work! Some memorable projects included a soccer arena, a pirate ship, a dragon, a cat, and a laptop computer!

This_is_not_a_box_Img01

IMG_2973